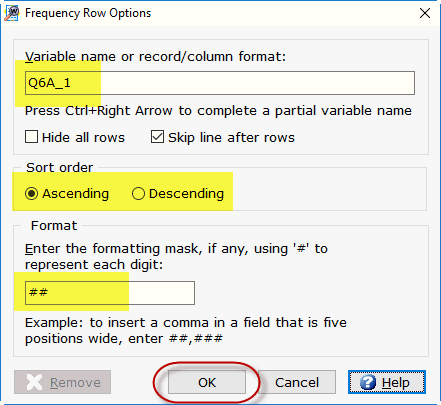
Setup|Tables|Add Freq Row lets you quickly create row(s) for a table from a variable or record/column location with many values. For example, you might want a table of zip codes, where each zip code is a row. Using frequency rows, WinCross will generate a row for each value using the actual values in the data as row text.
Frequency rows can be added for a new table or to an existing table. You can add multiple frequency rows to a single table and the frequency rows can be inserted in between regular rows.
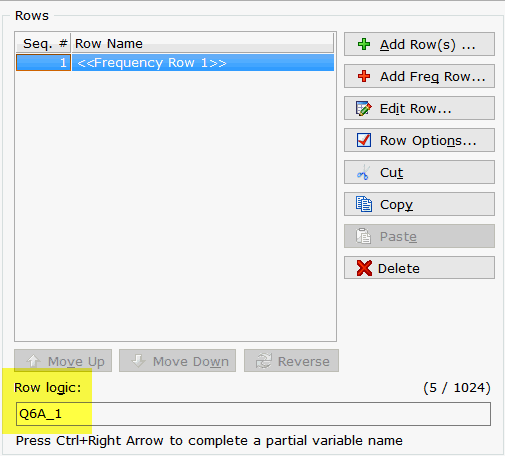
Selecting Add Freq Row automatically adds a row name beginning with the name <<Frequency Row 1>> and incrementing from there (i.e <<Frequency Row 2>>, <<Frequency Row 3>>, etc.) depending on the number of frequency rows you add to the current table. You can edit the Row name WinCross generates automatically for frequency rows using Edit Row.

Example: If there are up to 999 codes and you only want to display codes 1 through 500, you would enter:
Q1_COST (1-500)
or
1/20:3 (1-500)
If you have several contiguous variables or variables with the same number of columns between them, you can use the Scan (S) option.
Example: For a frequency row that looks across three variables or three 3-digit fields, you would enter:
Q1A S3 (1-100)
or
1/30:3 S3 (1-100)
Example 1: To show the dollar amount spent on cars purchased, where the dollar amount is a width of 5 characters, you would enter:
$##,### spent on vehicles
to result in row text of : $13,000 spent on vehicles
Example 2: To show 9-digit zip codes, you would enter:
00000-0000
to result in row text of: 94109-2019

The Row logic in Setup|Tables now contains the variable name or record/column location you entered on the Frequency Row Options dialog box.
Related topics: